How to Install the August Smart Lock in 10 Minutes (No Drilling)

The short answer: Yes — installing the August Wi-Fi Smart Lock takes about 10 minutes and requires no drilling.
See our full August Wi-Fi Smart Lock (4th Gen) review before you buy.
All you need is a Phillips screwdriver. The lock fits over your existing deadbolt’s interior side: you remove the old thumb turn, screw on a mounting plate, clip on the lock with the right adapter, pop in the batteries, and finish setup in the August app. Your keys and the outside of the door stay exactly the same.
Grecian Finds is reader-supported. When you buy through links on our site, we may earn an affiliate commission — it never costs you extra.
What tools do I need to install the August Smart Lock?
Almost nothing. Here’s the full list:
- A Phillips-head screwdriver (the only tool required)
- Your smartphone (iPhone or Android)
- The free August Home app
- A 2.4GHz Wi-Fi network (the lock connects on 2.4GHz, not 5GHz — more on that below)
Everything else comes in the box: the lock itself, a mounting plate with adjustable screw holes, a set of tailpiece adapters for different deadbolt brands, two CR123 batteries, a DoorSense sensor, adhesive strips, and an optional cover plate for oversized bore holes.
The lock we’re installing here is the August Wi-Fi Smart Lock (4th Gen) — Check price on Amazon.
One thing to confirm first: the August lock works with most standard single-cylinder deadbolts. If yours is an unusual brand or a very old deadbolt (pre-1997 Baldwin/Kwikset in particular), check August’s compatibility page before buying — details to double-check in the manual.
How to install the August Smart Lock: 10 steps
1. Unlock your deadbolt and prepare it
Start with the deadbolt fully unlocked. Use the supplied adhesive strip to hold the keyed (outside) side of the lock in place — press the tape firmly against the keyhole so the outside hardware doesn’t shift or fall while you work from the inside.
2. Remove your existing thumb turn
Using your Phillips screwdriver, unscrew and remove the two screws holding the interior thumb turn, then lift it off. If your deadbolt has an extra back plate, remove that too. Keep the two screws — you’ll reuse them.
3. Prepare the mounting plate
August’s included mounting plate has two adjustable screw holes that slide to match your deadbolt’s spacing. Push the two screws from your old thumb turn through the front of the mounting plate. If your door has an oversized bore hole that the plate won’t fully cover, add the optional cover plate behind it.
4. Attach the mounting plate to the door
Place the mounting plate over the deadbolt hole (noting the “DOOR SIDE” and “UP” arrows) and tighten the screws by hand until the plate sits securely against the door. Don’t overtighten — cranking the screws down too hard can cause the lock to bind or the side latches to not close later. Snug is enough.
5. Choose the right adapter
This is the step people worry about, but it’s simple. August includes several color-coded adapters for different deadbolt brands (Kwikset, Schlage, Baldwin, Defiant, and others). Check the compatibility chart in the box or app. If your brand isn’t listed, test-fit them: slide each adapter onto the deadbolt’s tailpiece (the little metal bar sticking out). The correct one is the adapter whose small triangle-shaped nub points up when fitted.
6. Attach the adapter to the tailpiece
Place the correct adapter onto the tailpiece with the nub facing up. Note: the adapter can sit in the plate backwards, so if the shape looks right but feels reversed, flip it around.
7. Mount the lock and close the wing latches
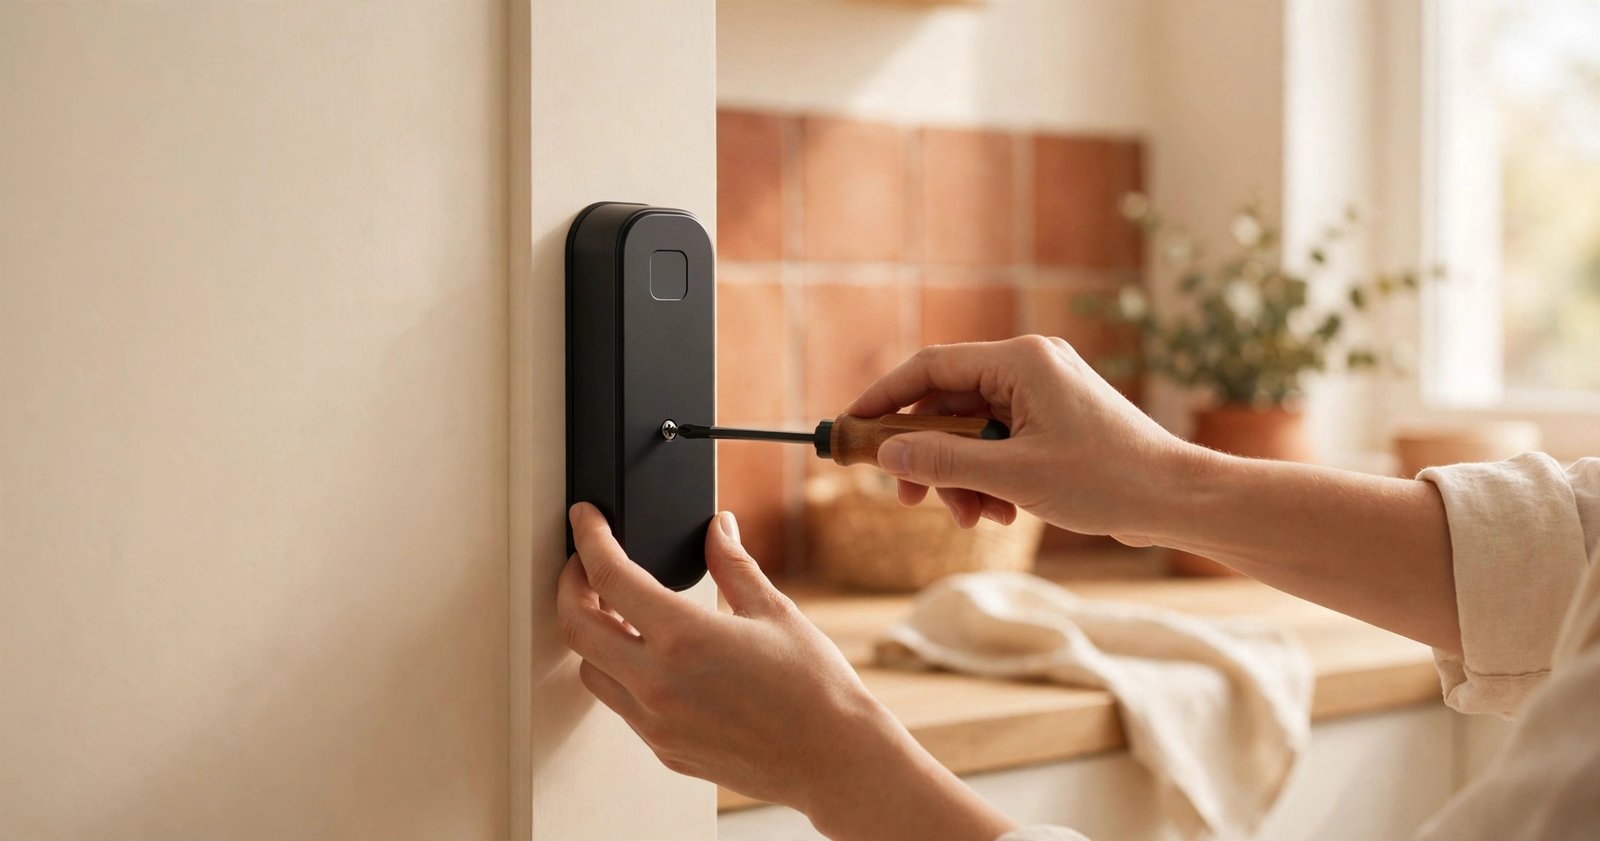
Pull out both side wing latches on the August lock to open them. Slide the lock over the tailpiece adapter and onto the mounting plate — the back of the lock should sit flush against the door. Then clamp both wing latches down completely to secure the lock. If a latch is hard to close, loosen the mounting plate screws slightly; overtightened screws are the usual cause.
8. Install the batteries
On the 4th-gen Wi-Fi model, slide the battery cover up and off, and remove the plastic battery isolation tab. Make sure the two included CR123 batteries are properly seated, then replace the cover. On some earlier models the battery compartment is behind the faceplate — remove it by pressing down on the August logo at the bottom and lifting from the top.
9. Pair the lock in the August app
Download the August Home app, create an account, then tap “Set up a device” → “Set up a smart lock” → “Wi-Fi Smart Lock (4th Generation)”. The app walks you through connecting the lock to Bluetooth and then to your 2.4GHz Wi-Fi network. Heads-up: the 4th-gen model only uses 2.4GHz Wi-Fi. If your router combines both bands under one network name, the setup may stall — temporarily splitting the bands or moving closer to the router usually fixes it.
10. Calibrate, mount DoorSense, and test
The app will run a calibration: you’ll lock and unlock the door a few times while the app learns your deadbolt’s throw. Then mount the DoorSense sensor on the door frame using the included adhesive strip (or screws, if you’d rather), aligned with the lock as shown in the app — the app shows a live status indicator so you can confirm alignment by opening and closing the door.
Once done, test everything: lock and unlock manually by turning the lock’s outer ring, then try it from the app over Bluetooth, then over Wi-Fi while standing away from the door.
How do I set up auto-lock on the August Smart Lock?
Once the lock is installed and paired, open the August app → your lock → Settings → Auto-Lock. You can have the door lock automatically after a set delay (say, 30 seconds or a few minutes) once the door is closed. If you mounted the DoorSense sensor, the lock can also alert you if the door is left ajar. Auto-Lock is optional — many renters leave it off until they’ve lived with the lock for a week.
Common mistakes when installing an August Smart Lock
Overtightening the mounting plate screws. This is the #1 install complaint. Too-tight screws warp the plate and make the wing latches impossible to close or cause the motor to struggle. Tighten by hand until snug, then stop.
Picking the wrong adapter — or putting it on backwards. If the lock binds or won’t turn after mounting, the adapter is almost always the culprit. Test-fit until the nub points up, and try flipping the adapter if the shape looks right but reversed.
Trying to pair over 5GHz Wi-Fi. The 4th-gen lock only connects on 2.4GHz. If setup stalls at the Wi-Fi step, that’s usually why. Split your router bands temporarily or stand closer to the router.
Forgetting the adhesive strip on the outside. Without the tape holding the keyed side, the outside hardware can shift or drop while you work — and then realigning it is fiddly.
Skipping calibration or DoorSense alignment. The lock technically works without DoorSense, but you lose “door left open” alerts and auto-lock on close. Take the extra two minutes to align it with the app’s live indicator.
What to do at move-out: removing the August Smart Lock
One of the best things about the August lock for renters is that removal is just installation in reverse — and it leaves the door as you found it.
- Open the wing latches and lift the lock off the mounting plate.
- Unscrew the mounting plate and adapter.
- Reattach your original thumb turn (and back plate, if it had one) with the same screws you saved.
- Pull the tape off the outside of the door and wipe any adhesive residue with a damp cloth.
Your landlord sees a standard deadbolt, your security deposit stays intact, and the lock goes with you to the next place. Just keep the original thumb turn and screws in a labeled bag when you install the August — future you will be grateful.
Related reading
If you’re still deciding which lock to get, see our roundup of the best smart locks for renters that don’t require drilling. You can also browse everything we recommend on our picks page.
Frequently asked questions
Do I need to drill any holes to install the August Smart Lock?
No. The August Smart Lock mounts on the inside of your existing deadbolt using your thumb turn’s original screws — no drilling, no new holes. It works with most standard single-cylinder deadbolts.
How long does August Smart Lock installation take?
About 10 minutes for the physical install, plus another 5–10 minutes for the app setup, Wi-Fi pairing, and calibration. Most people finish the whole thing in under 20 minutes with just a Phillips screwdriver.
What if none of the included adapters fit my deadbolt?
If your deadbolt brand isn’t in August’s compatibility chart, test-fit each included adapter on the tailpiece — the right one has a small nub pointing up when seated. If none fit, your deadbolt may be incompatible (some pre-1997 or commercial-grade deadbolts are) — double-check August’s official compatibility page or contact their support before forcing anything.
Can I still use my regular key after installing the August Smart Lock?
Yes. The lock only replaces the interior thumb turn — the outside of the door keeps its original keyed cylinder. Your key works exactly as before, and anyone with a key can still get in. You can also lock or unlock manually from inside by turning the August lock’s outer ring.
The bottom line
The August Wi-Fi Smart Lock is one of the easiest smart locks to install: no drilling, no wiring, no replacing your deadbolt. The physical install is genuinely a 10-minute job — remove the thumb turn, mount the plate, pick the adapter, latch the lock on, insert batteries. The app setup and calibration add a few more minutes, and the only real gotchas are overtightening screws, grabbing the wrong adapter, and the 2.4GHz Wi-Fi requirement. For renters, it’s about as low-commitment as a smart lock gets: it comes off clean at move-out with the original hardware going right back on.